As at continuation of the keel saga, we were giddy after finally getting over 5 thousand lbs of lead into a molten state and into the plywood form, with no disastrous floods
and no one being hurt.
We could hardly wait to remove the form and see what we had.....
better than Christmas morning!.....

Richard moved the keel into the garage, as the rain has started to
really come down here, in Western Montana.
He rolled it 90 degrees into the correct orientation for positioning under the boat.
He rolled it 90 degrees into the correct orientation for positioning under the boat.

You may be curious about how he moves around this heavy hunk of lead...
no pushing or pulling....just using two pallet jacks. One near each end.

Then Richard started the long process of removing all the brackets
that provided support during the pour.

A hundred 2x4s, rods and nuts, then a zillion screws
keeping the layers of plywood together.

When the first layer of ply was removed it showed no real leakage thru the joints
where he had used the high temp stove caulking.
The section in the center is the edge of the blocking that created the slit for the centerboard.

Of course, since he had strengthened the side joints by alternating top and sides,
he couldn't get to the screws holding the inner top in place....
get a bigger hammer and chisel!...We can't wait!.....

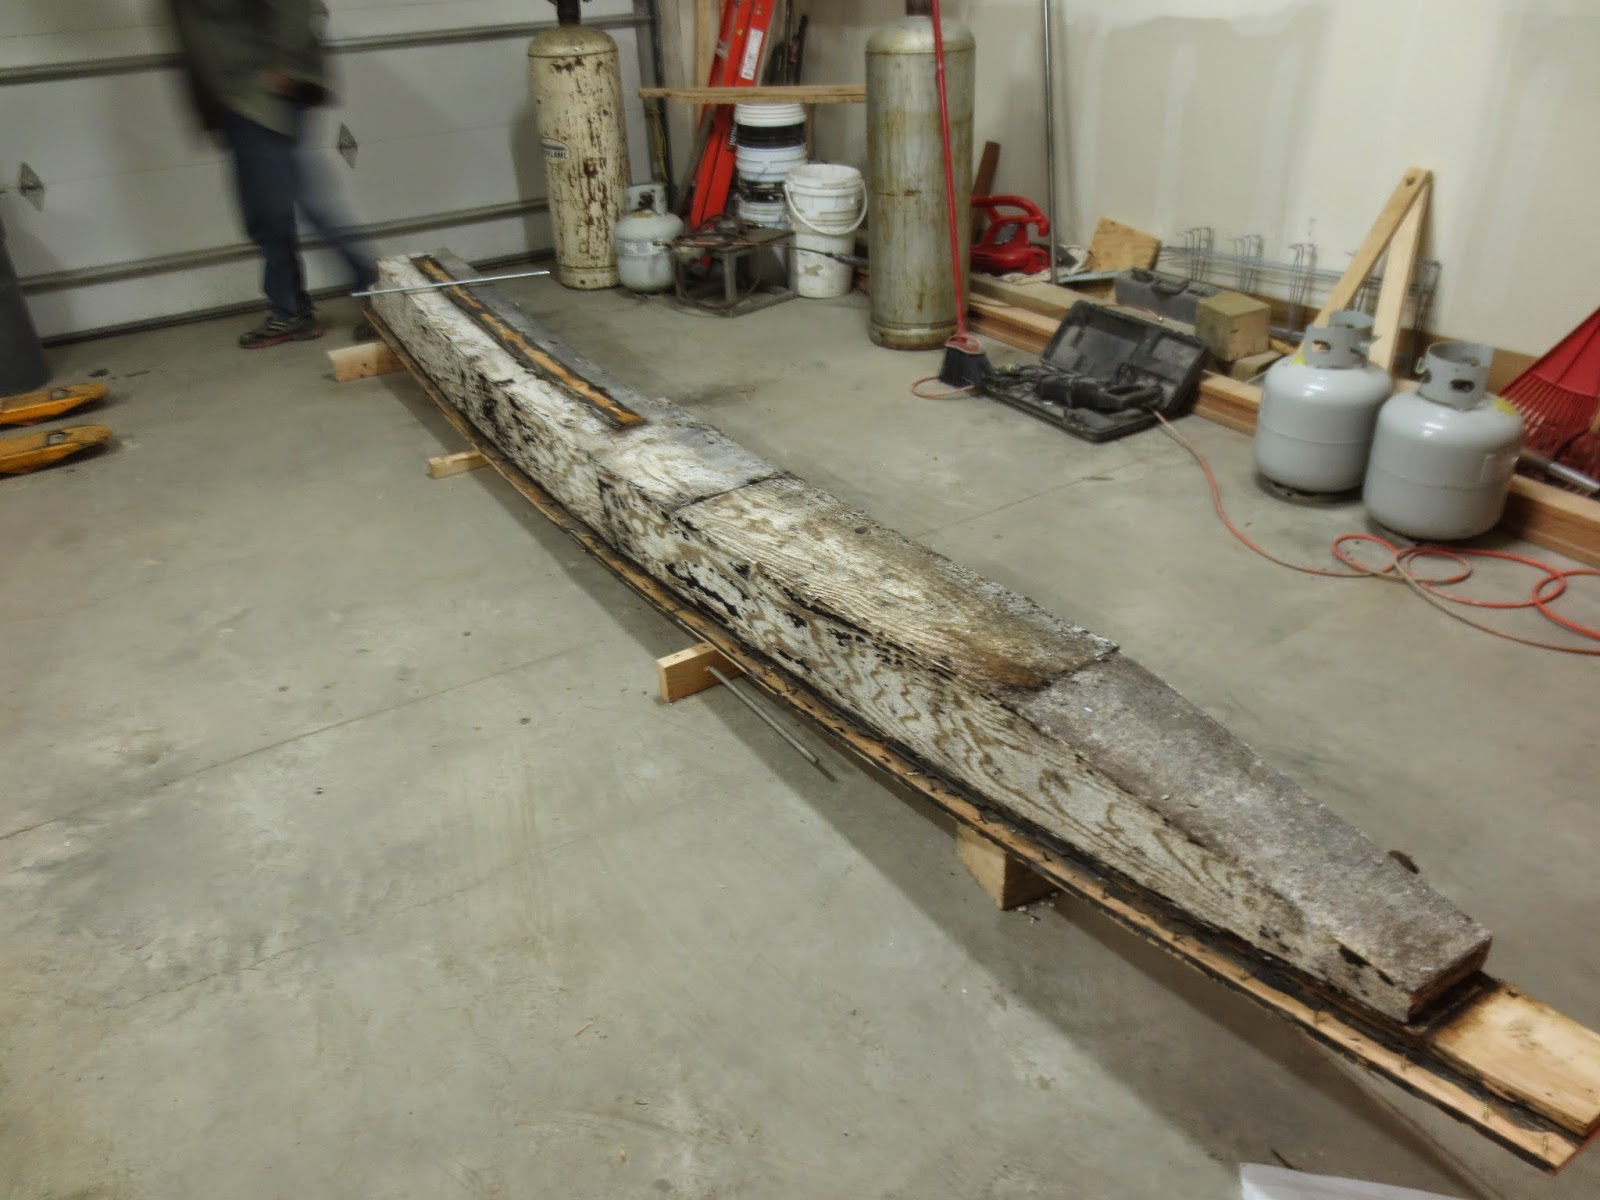
Finally... a tiny spot of lead! Keep ripping and chiseling...

Wow....I was surprised by the matte, rough look to the metal...
Not sure what I was expecting!
This pic shows the only tiny bit of shrinkage in the entire keel.
This is a natural process as the lead cools....that is why the guys kept topping off the mold during the pour. Richard had heard that the rate of shrinkage is about 1" over 6'....we only had about 3/4" over the entire 14'....it probably happened here since this is the smaller, thinner end. No worries....we are very happy.

More brackets....more prying plywood. Bigger hammer...

And we could finally start to see what a beautiful pour looks like!....
I love the wood grain effect.
Lots of back slapping! After four attempts and lots of backyard engineering
it looks like we have a keel for Beckon!

Jane even got the thoroughly stimulating job of removing all the
nuts and washers from the rod in the 2x4 brackets.....
I think there was some sort of "white picket fence" scenario going on...
Oh No! What is this? A HUGE void on the port aft side of the keel!
The lead never got near the mold....what the...???

The surface of the non formed area was rough and bubbly appearing...
remember that is the side that was up during the pour.

After removing more of the side form, we could see that a long smooth void was down the surface of what had been the top of the mold.
It went from 1 1/2" deep to nothing over about 40".....The rod is set at about the zero mark.
The lead appeared to settle in a flat layer at the angle at which the keel was sitting....
it just couldn't get to that area.

Ahhh! The culprit!...... A well charred shim!!.....
we figure it had fallen into the mold, probably hiding under the center board blocking...
then it floated up on all the boiling lead and by pure chance fit perfectly and got stuck crosswise on edge, preventing the lead from reaching the entire "upper mold".
Otherwise.....an overall beautiful pour!

Richard spent the next couple evenings cleaning the remainder of the forms off, and cleaning all the stinky plywood out of the garage. Kind of a wet charred smell....

More hammering, chiseling, and sawing while contemplating a fix for the keel.
He estimated the port side of the keel would be light by at least a couple hundred pounds.
Not so good for Beckon's balance!
Options would be.....
A repour (and remake of the entire mold), or add more lead onto the area of the void.
Trying to add more lead after the lead was cool poses problem with adherence....
Richard and Eric decided the best option was to combine braising, soldering of the lead...and using mechanical fasteners if needed.

Steel forms were applied along the sides of the keel.

And while we were at it, we felt that the little pin hole type voids at the fore section
looked kind of suspicious....how deep do they go?
They seemed structurally sound, but how much weight was missing?
After clean up, it appeared to be swiss cheesing due to those boiling gasses....
Trapped up under the lid of the mold.

Richard completed the perimeter form....

and cleaned all the oxidized lead off the area with a coarse wire brush on a drill.

Eric came over to do some serious lead melting....

The large flame weed burner was used to soften up the existing keel
while the intense flame, high BTU burner was used to melt the hunks into the molten keel.

Richard got another 230 lbs of lead in ingots, dive weights, etc....
then used the wire brush to remove all the oxidation and impurities off of them....

Some of the lead was in big slab form and really filled in the void quickly.

Jane got roped into torch work, handling the large torch...

Lots of flame and heat to ward off the cool Montana weather...

Eric did lots of roughing and scrubbing with a small rod to the molten lead
to promote adherence.

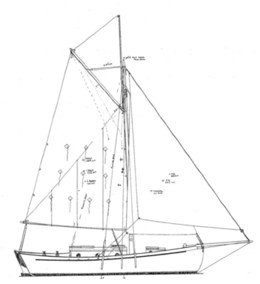
Beckon's view of the keel work.

Richard had Eric keep slowly filling until the level was higher than needed...
he plans to shape the area after it hardens.

Then Eric attacked the swiss cheese area.

Some lead was added to a void type crater at the fore end...
then little bits were dripped into several of the small deep holes.
Adherence should not be an issue with the thin deep fills.

As it was heated,
one small swiss cheese area opened into about a 3" wide by 2" deep hole, expanding to about 16" long....Yikes...that darn trapped gas!
It must have been light, since more lead was needed.

Richard had to scurry to try and get a ~120lb hunk cut up to keep feeding the melt.

After helping him lift the chunk up to the cutoff saw,
I watched anxiously as the blade got thoroughly stuck in the solid mass.
The big hammer method finally freed it.

Here are close ups of the melt and scrub method for promoting adherence.
The rod was used vigorously....

And the chunks were moved into the molten lead.
The entire keel was hot to the touch.
All visible weak areas were repaired.
It appears to be a big save!

All patched and ready to shape.

Richard moved it under the keel to assess for any adjustments needed
to make the fit flawless.

The shaping went really well with the electric plane,
but generated huge amounts of lead shavings.

In all, a couple 5 gallon buckets....can you imagine the weight?

All shaped up cleaned up.....
Richard measured every part of it and to make sure that it fit the shape of the hull exactly.

A thing of beauty!
And a great weight off our minds to finally have it complete,
and for Richard to have done a "self pour"....
No comments:
Post a Comment