
When the weather cools in Montana, I seem to be able to get around to posting.
Beckon is getting very close to completion....
and it doesn't seem like there have been very many things to photograph,
but looking back at the pics and as visitors arrive to see her, we realize the she is still moving along.
We had a big push to try and make the Port Townsend Wooden boat festival this last fall,
but we decided to keep her home until spring.
Much more cost effective to keep her close this winter
and move her over to the coast "when the mountain passes open" in 2015.
In time for a great sailing season....and boat show in Sept.

In the spring, Richard finished up the table along with
figuring out the tube for the centerboard lift line..

He mocked up the tube that the line runs through
in PVC and had Eric mill out some stainless parts....
The whole centerboard case needs to be water tight,
as he anticipates water being forced up inside the case in rough seas...
compressed and shot up the tube.

Thus it has a very involved system of gaskets, through hulls, and tubes.
I am visualizing a whale blow hole out of the cabin top.....
The whole shaft also needs to be removable for access to the centerboard while she is afloat.

This is the bronze through hull on the cabin top where the line will exit
and run back toward the cockpit.
Eric has made some beautiful custom bronze turning blocks to accomplish this....
they will be seen later on...

Winch bases were milled and glued up.....local cedar.

More epoxy....go figure....

The pieces were rough cut to size in a slight taper...

Then the final product was shaped to actual shape.....

Before Mark's spring visit, Richard moved Beckon around in the build room.....
and had enough head room to stand in her cockpit for the very first time.

Mark and Richard visualizing the cockpit set up....
they need a cocktail and a sunset...

They bent conduit in the shape of a stern rail.....
trying to get a nice shape along with functionality...

The visual shape from off the boat is as important as it is from the cockpit.

Mark helped us lay out all the cockpit components.
He pointed out the importance to have clear swing for winch handles
and also allowing for walking room around stanchions and dodger.

The stick in the foreground shows stanchion placement.

Mark used strings to determine fair lead for the sheets to determine winch stand placement.

And then you throw the gallows mock-up into the mix.
Not much room on a 30 footer....

And Mark picks his favorite seat for sailing.....
The stern rail will be custom bent by Eric and Richard
from thicker bronze tubing, just like the stanchions.
No wimpy conduit will be allowed......
we are planning a gate in the center of the stern for convenience of access to
wind steer mechanism and if docked stern first.
The rail is nice an high for a feeling of security in the cockpit while at sea,
and will wrap further forward to accommodate solar panel mounting..

On his trip out to visit, Mark brought us a wonderful boat present...
He brought a 35lb Bruce anchor on the train, as carry-on luggage
! We are so thankful he ended up with two Bruces...
and we had an extra Origo stove for his boat Haida.

And she fits snuggly in the bow roller that Eric built.
Perfect clearance for deployment and retrieval.
That is boat jewelry to us!

Speaking of boat jewelry.....custom bronze chainplates.

Bronze for gallows (boom holder), hawse pipes (holes for dock lines)
and anchor chain hawse with cover.

The custom bronze turning blocks for centerboard lift....
and the prototype for the top of the custom bronze stanchions (life lines)....
All made by Eric....

Mark suggested more shaping on the prop aperture....

More grinding.....more tapering....

Drilling bar for the prop shaft hole....

Came out dead on in the engine compartment!

Richard built a form and created a fiber glass "funnel" to direct the
anchor chain from deck level down into the tube to the chain locker.

After cleaning up, it will attach to the underside of the deck, under the chain hawse.

A seemingly quick and simple job like cutting the hawse pipes (to run lines through the bulwarks to the dock) turned into a several day job....

Lots of grinding and smoothing....

Building up the inside of the shaped bulwarks to create a flat mounting surface,
and sealing the inside with epoxy....

At last!.....pre deck paint of course....

The bow is starting to come together....

We cut a hole in our forward hatch to mount a deck prism
that we bought with a gift from my sister-in-law and brother.

The flat bull's-eye glass will not intrude on head room in the head....but the natural light!

Gotta love boat jewelry!

The placement for the fuel tanks fills were determined and hose routed....

The port side custom (Eric built) aluminum tank mounted in the cockpit locker.

And Eric was given the job of creating secure and useful pot holders for my Origo stovetop.

Absolutely beautiful, and fully adjustable.....
up/down, width, and no rolling or drooping.....
Awesome....the galley wench is happy!

If anyone is interested....he can produce them for you.....
Eric Wolfe Enterprises, Bigfork, MT

He also created a clamp to help align the final glue on the mast.....
not sure of any further use for this!

After the wires were settled on and run,
the last few sections of mast were glued in...

Then the 8 sided mast was made round....

More hand work!

Shaving off those corners and rolling her as you go....

For the sanding....he added the casters to assist in the rolling.

He tried a pneumatic vibrating sander....

But returned to the old block method....

Custom made of course...
the mask is a handsome touch, don't you think?

Fine tight grain, and smooth as a baby's behind......

Nice top taper, and wires intact....for lights and antenna.

He then steamed out a couple little dings....

The blocks/cheeks that will hold the standing rigging are made and sanded.....ready to mount.

The deck hardware was all fitted....

The port stanchions fit...no room to mount the starboard ones.

Chainplates pre-fit with only two holes thru hole until mast stepped.....
just in case they need to be moved or tilted slightly
for a fair angle with the pull of the standing rigging.
At this stage it is all geometry...

All the hardware was then removed in prep for final painting and non skid application.

It's all in the prep!

She looks pretty sad....

All the removed bright work gets more layers of varnish.

It shines like glass.....the companionway hatch.

The companionway turtle....

The butterfly hatch and dorade box.....

Taping for the non-skid was fun......

But she was ready....

Then....as Richard was prepping the side deck for the non-skid,
he noticed that the SYSTEM 3 paint on the deck had not bonded to it's primer....yikes!
It had been sitting on top of the primer for about 2 years....

Better to pull it all up now than get her in the water......

Feel like going backwards? Lots of grumbling.....
It all came up easily in long strips.

Absolutely no apparent bond to the primer......
It turns out that this was probably due to following the companies instructions
and sanding the primer to 200-300 grit before applying the paint.
Way too smooth apparently!

Pretty horrible customer service from SYSTEM 3.....
All we got was a verbal confirmation of other complaints
and that they NOW verbally tell customers to sand to no more than 200 grit.....
and unfortunately, as of this time, the written instructions still say 200-300!
I guess the customer has to make the same mistake to find out the reality.....

We were so happy with the product on the topsides, but it had not been sanded above the 200 grit.

Soooo.... the deck was sanded to a coarser grit and the edging around the non skid
was re-painted with the SYSTEM 3......while the KIWI GRIP non-skid was painted directly over the SYSTEM 3 primer.....

Absolutely loved the KIWI GRIP......
Went on great and actually had a longer open time than we had been warned about.....
but we did not apply it in the heat or the sun.....
It is a very nice product and easily touched up/ repaired.
Note the gorgeous custom bronze stanchions....they are designed to be very strong and
the holes are sized for a using dyneema type product for the life lines.

She finally got all her bright work back on....

Including the stanchions...

Only the starboard deck needs non-skid...

All the bright work....

Even the caprails gleam....

Nice even texture of the non-skid......

It is slightly rubbery for seating comfort....

Richard installed a Newport solid fuel heater for his First Mate....

It is made to be removable and stored, when we finally make it to the tropics....it has the cutest little firebox......it burns cut up fabricated logs (least messy), pellets, drift wood, charcoal and even coal.
And no infra structure!....won't get a night long burn from it, but it will definitely take the chill off.

The dorade boxes with cowls made it to the top of the cabin....

The cowls were back-ordered from the factory, but worth the wait.
The dorades are just sitting there since they will need to be removed
to get her out of her build area...

This is the trim ring, lined with pvc pipe on the inside of the main saloon.

A recent pic of the bow...hardware returning....
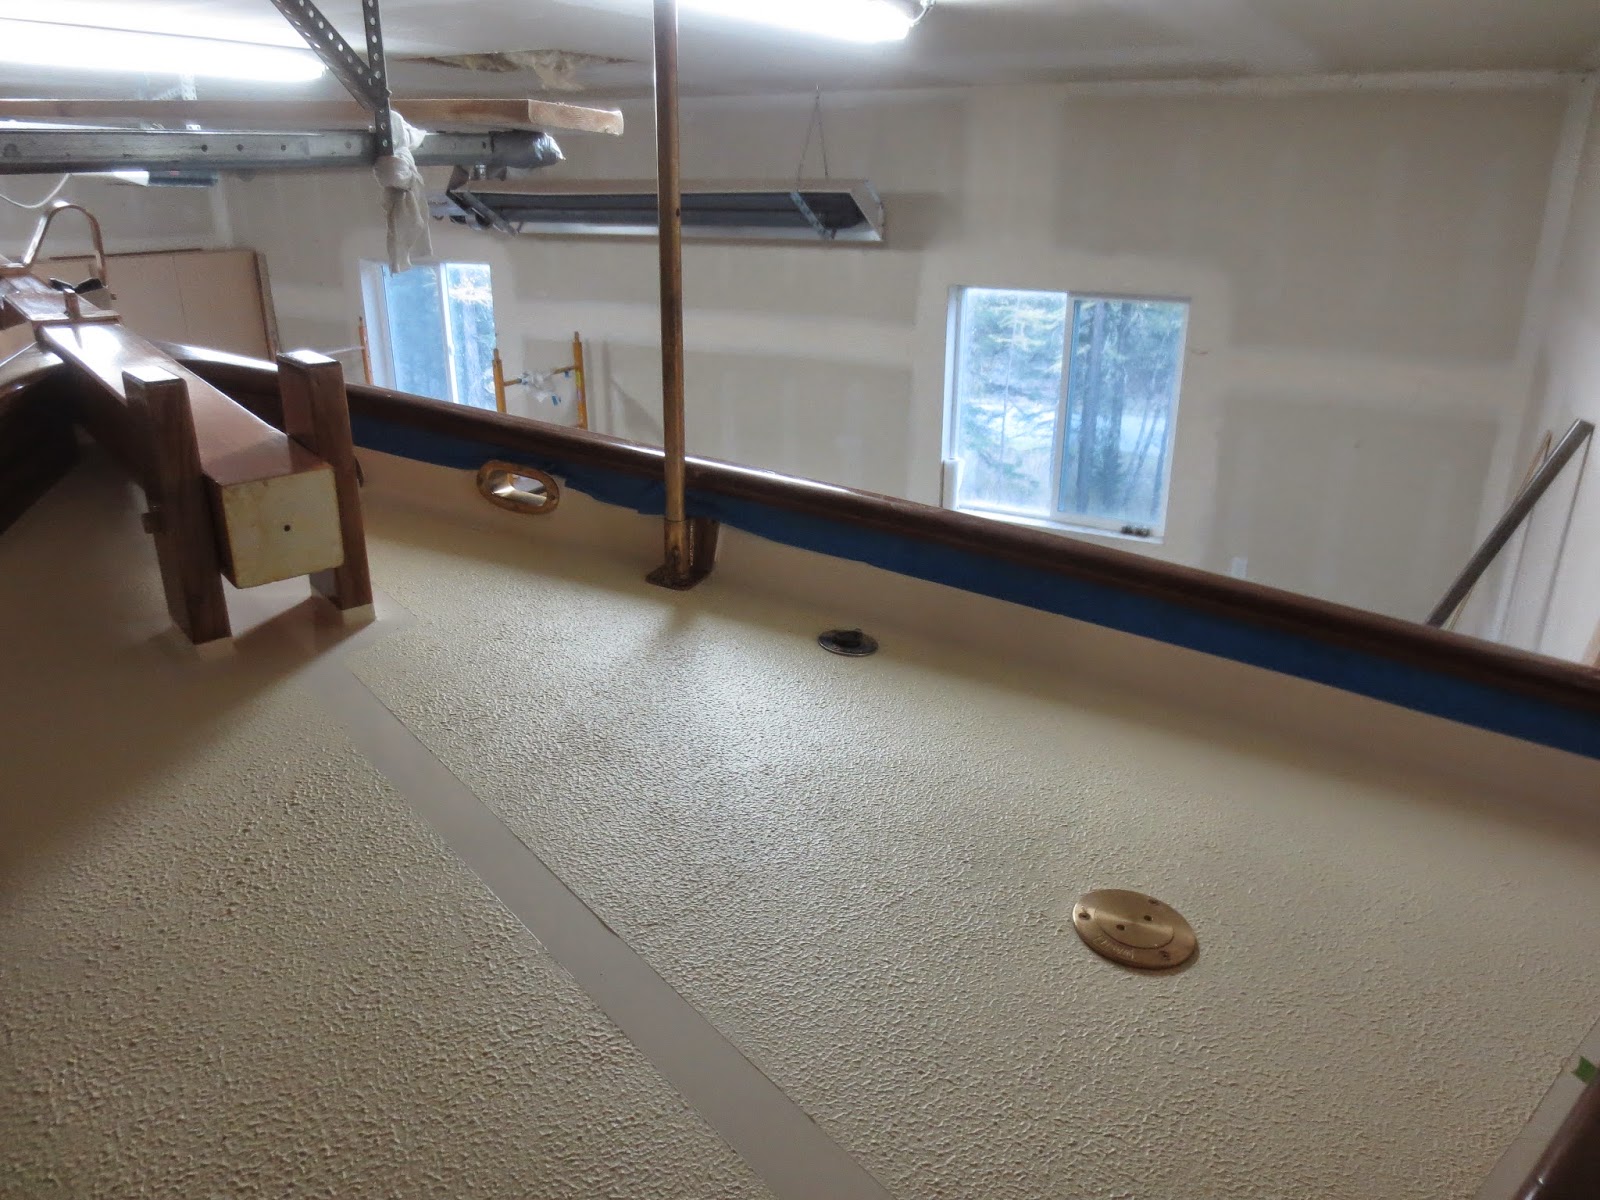
The non-skid turning out so well was a big relief.....
and a hurdle that I am sure Richard is happy to have behind him.
The bronze "fill" is a holding tank pump out....and the tiny dark spot near the starboard side is the quick release valve for the saltwater washdown....perfect placement for mucky chain and anchor.
The next blog will detail the adventure of the 5 thousand pound keel.....
the custom pour is coming to reality!
Thank goodness for adventurous good friends
that work so hard to make these things happen....safely.....
I have been watching since the strip planks went on. Really gorgeous work.
ReplyDeleteShe must carry a ton of sail with that bowsprit. She looks similar to the Hess designs which sail so well.
Looking forward to the splash.
Cheers,
-jak
Stunning workmanship as always!
ReplyDeleteYou skill and attentention to detail make me feel pretty delinquent as I stuff epoxy into gaps on my Olga 28 "Tardis." But I am pretty sure Mark had us wood butchers in mind for the simple plywood boats, and the real pros for a shapely craft such as the Noth Sea.
You might know that this blog led me to Mark Smaalders and the Olga. I relish every day working on the boat, and I am so grateful to you. The story is at www.mvtardis.com.
I hope to get out to Port Townsend next year to see your boat and meet Mark.
Perhaps more than an annual posting in between!
Paul Kessinger
Wow.... looking fantastic! Well done!
ReplyDeleteJim