
The 2015 Wooden Boat Festival in Port Townsend seemed to be speeding up fast!
Richard really had his heart set on having Beckon in the Festival.....
a proud new boat......
the push for completion was on....
Now the keel was shaped and the centerboard fit and the pivot pin drilled....
time to recess the keel bolts on the bottom of the keel.

And this how you turn over a 5000 lb keel by yourself!

It's all about pallet jacks, and shims....

slowly tip....

sneak it over and after a couple tries....

He dah man!

The recess hole drilling was easy....but then it needs to get turned back over....

The pallet jacks work great for positioning the keel under the boat, too.
It sounds easy, but requires lots of grunting, groaning,
and white knuckling as the keels tries to tip off the jacks.....

The final shape of the full length keel can be seen.
Looks nice and smooth.

Richard was not too happy with any gap between the keel and the hull.
Some builders will fill this with caulk or stuffing, but this eventually loosens up
and creates a pocket for rot between keel and hull.
He wanted to shape epoxy to fill the gap.

He covered the keel with plastic, taped on with blue tape,
then smeared thickened epoxy onto the keel.

Then the keel was pushed up against the hull,
thus shaping the epoxy to the shape of the keel.
He then scraped off excess squish out.....
after filing cleaning up the edges he had a perfect fit...

It is kind of difficult to see,
but the light grey/ white color on the hull is the area of epoxy fill.

It makes a perfect fit!

On and off the keel came....seemed like too many times.

Richard designed up some pin rails, too.
They will hold the halyards and extra line.

And of course, another few coats of topside paint is needed to "clean her up".

Roll and tip....then just paint and tip.....he is a master at paint application.

One afternoon he looked toward the lawn and saw all 6 of our local deer tribe.
Probably the last time Beckon will see those.....

Two mommies, two babies and two bucks...
the one buck is huge this year, and has managed to strip my apple tree to about 7 feet high.
They sure can stretch up on their hind legs when motivated....

Richard's friends took turns stopping by to help out with the last quick push
prior to transport. The day was coming up quick and jobs needed to be prioritized...
Randy stopped by for some bottom painting...

The black was put on first so that the thickness of the ablative bottom paint
could be judged at later date.

Richard came up with a custom color of bottom paint.
One that would compliment the bright wood. He just mixed some red and black.
Sikaflex was placed on the top of the keel, it was pushed into final placement....
this took lots of jostling and positioning....and that keel is heavy!
It seems to move and change shape and hole position frequently....
The bronze keel bolts custom milled by Eric, of course, were pounded through the keel,
nuts put on (do not attempt this without cleaning the threads of any extra stray lead,
as it will total bugger up the threads, and there will be large amounts of cursing....)
and then the keel was faired with thicken
epoxy and several coats of bottom paint applied. All the very last days, of course!
Thank you Dale and Randy....

Jane sewed up a lace up Sunbrella mast boot to cover the hole where the mast goes through the deck. We used the stretchy white mast boot tape first for water proofing the joint, and put the sewn boot on over the top to help with UV protection. The mast tape went on easily and not a drop of water! We were happy with that....

Also on the day prior to Beckon leaving for the coast,
we realized we had never gotten around to making a tiller.....
Quinn whipped us up an oak beauty in 45 mins!.....He is impressive!
Since we will ultimately want an ergonomic curved tiller, we will use this one as our emergency tiller...

A last big push to get her packed up and ready for the road....
We pulled off all spars, life lines, bow sprit, etc. We wrapped everything for protection and placed it low in the boat or on deck for transport.
We tried to label everything, but it all came too quickly...
it eventually just got wrapped and thrown in boat......or Richard's truck.
Not too recommended for finding things on the other end.
We chose Stellar Boat Transport for our trip to the coast....
he has a beautiful very low flatbed designed especially for boats of all sizes.
The trailer only has about 5" clearance underneath, and we have a tricky long driveway.
Humm....better evaluate how this is going to work.
We had Chuck from Harmon Crane come out ahead of the scheduled transport date to look at the job. We tried to come up with ideas on how the whole scenario would work.
He was worried that since we had a hump and turn in our asphalt driveway, there would be no way for the trailer with such low clearance to get close enough to the boat to load her. We needed to think of a way to get her out of the driveway to the wide spot in the road for loading onto the boat hauler.
We needed a boat trailer large enough to move her the 200 yds, or so....
After a few calls, we decided that we could load her on flatbed, using the cradle she has been sitting on for the last several years.
Carl Tinlin (from Jane's work) was willing to come over, check out our project,
and be part of the big move!.
He has a large flatbed goose neck trailer and truck that can pull it....perfect.
And here is how the big day went!....

We strapped the cradle to the boat with straps going over the top.
We were afraid of crushing the cradle if we used the crane straps around boat and cradle.

Trailers and cranes all started to arrive....

The inside was packed low and secure for the trip....

The bowsprit was removed and covered with towels and shrink wrap.

The crane was setup for the initial lift to the flatbed.

She looks so stripped down....not much of her beautiful detail is apparent.
Kind of sad...

Thankfully Jon Derry showed up to be a big help with the crane work....

Positioning the straps is very important...

They must be close to the center of gravity,
so that she doesn't tip forward or backward and the straps slip off...
that would be disaster!

A little test lift...

And all is well....up, up and away.

She needed to be lifted high enough to clear the crane support
then swung over to the flatbed.

Slowly, slowly.....no worries.

Bring her on in....

A little further toward the goose neck...

Space out supports so the keel will sit directly on the trailer...

And we have contact! It works!

Strap her down!.....we don't want her slipping while leaving the driveway....
The crane was moved out to the wide spot in the road....

Carl was feeling lots of responsibility for our dreams and all of Richard's hard work,
at this point....
down the hump in the driveway and onto our rural road...

Slowly....

She makes the turn no worries....

It's pulling great....she feels secure...

And Carl might as well just keep going to Seattle!

Now the crane is set up at the wide spot in our road, away from power lines, of course....
And she was positioned under the boom.

Re-strapping her for next lift, and removal of the straps holding the cradle.
Chuck has the situation well under control....
I would think he lifts sailboats regularly...

Men love big machines and swinging heavy boats through the air...

And up she comes from the cradle she has been on for the last 5 years....

Drive out the flatbed....

And hold her up in the air while friends and neighbors gawk
and the transport trailer is positioned to receive her....

Don't worry, the crane stands have leveled the crane's front tire off the ground....
looks scary though...
I love the tagline on the bow in this picture....
I think if she starts to go anywhere, Richard would have no chance.....
My favorite part of the day was when a car came up the rural residential road and all the driver could do was figure out how to get around the boat floating in the air...like it is something she sees everyday, and the situation is making her drive an extra15 feet further around!....
Montana MUST be a hotbed of boat building....nothing new!

And in comes the trailer...

Slowly figure out placement and support...

Slowly.....

She fits a little differently, having a long flat keel.

Make sure she is centered....

And add a few poppit type supports....
The pale grey marks in her bottom paint were where her cradle was during the painting.....
it will be touched up in the yard.

The tie down for the long trip took quite a while...

The straps were finally released and the crane exited stage left....
thanks so much to Chuck Harmon for a job well done....
a true knowledgeable professional.

The mast had been wrapped in old carpet padding
(donated by Steve Milheim as an excuse to see the boat)
and then bubble wrapped and shrink wrapped....
the guys moved the wrapped mast, gaff, and boom, out to the road
to be loaded on the trailer....

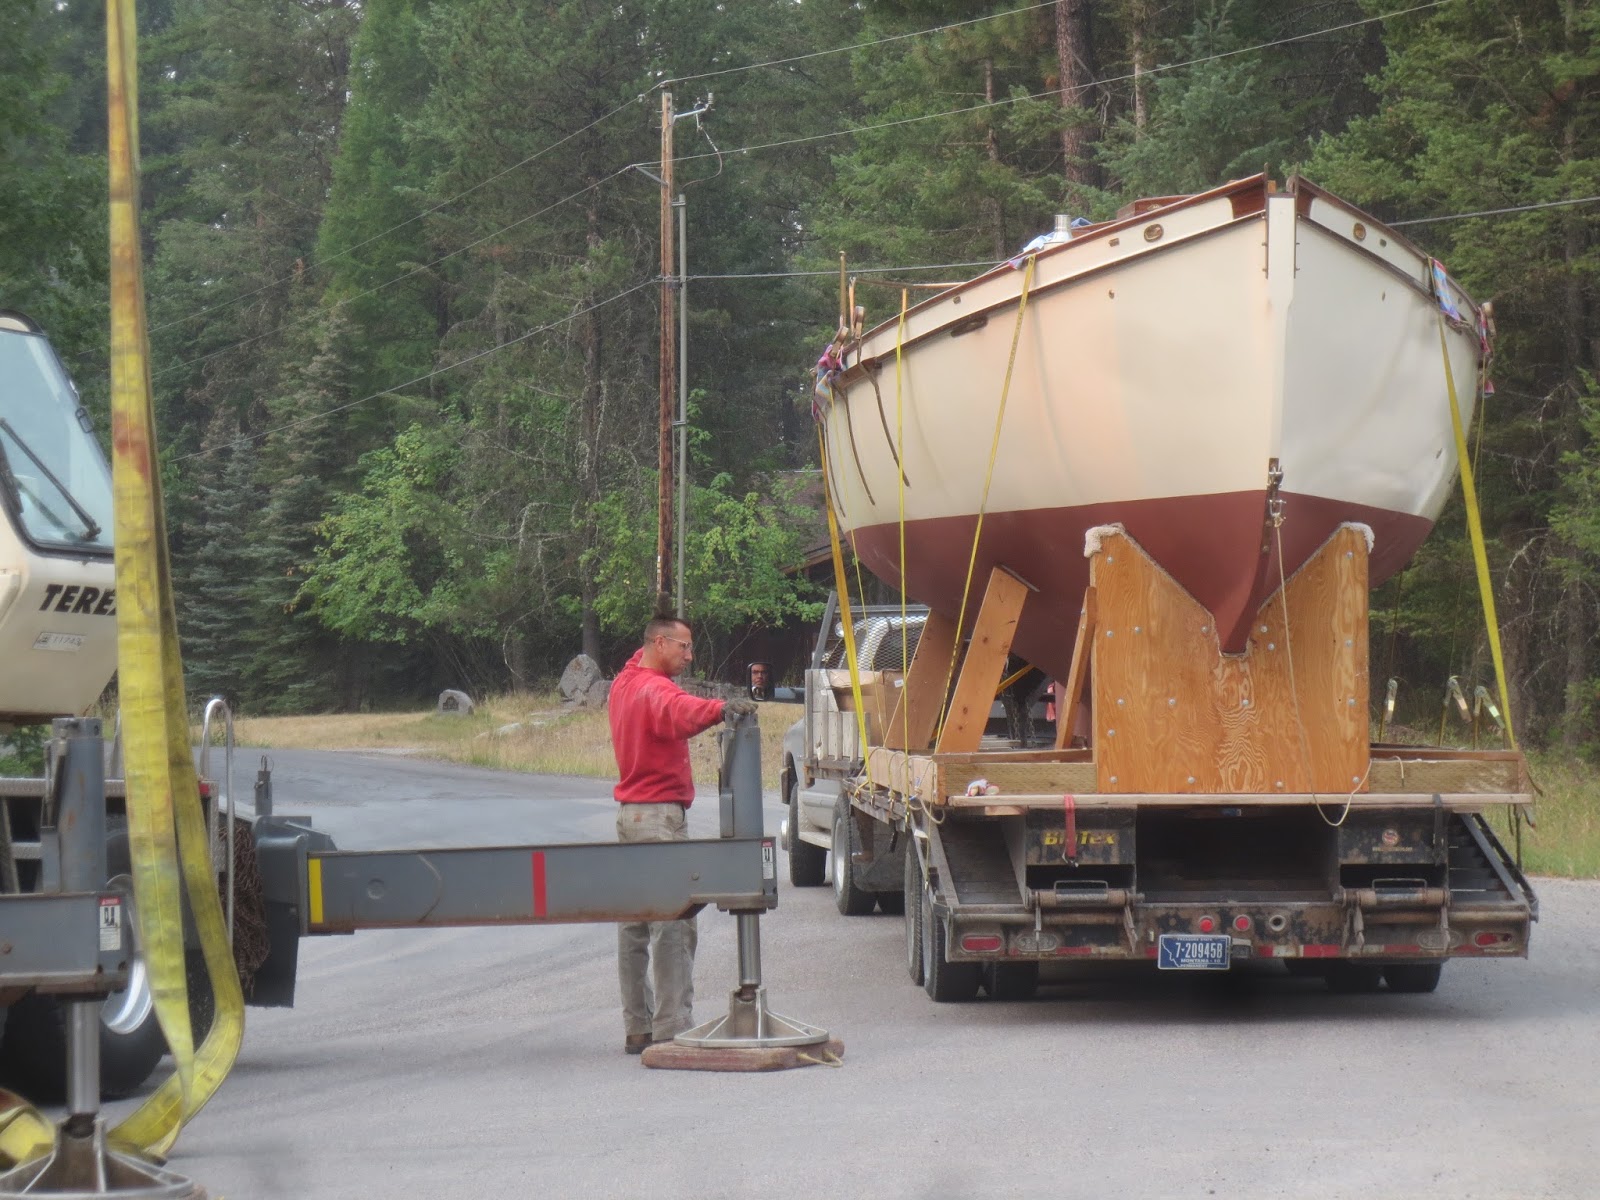
Beckon was finally secure on the trailer....thanks Jim....
She was then brought back to the driveway to load all the remaining spars
and to finish tie downs.

The mast fit right in the brackets along the side....

All the other stuff was positioned, padded and tied on deck.....

Since she was going to be traveling stern first down the freeway, Richard taped up the companion way in an attempt to keep her insides as clean as possible.
Jim's truck vents the exhaust underneath and further back on the trailer, but there will probably be plain old road dust.....besides....
look at all the forest fire smoke in Montana when she left....
can't even see the mountains at the end of the road!
I can hardly wait to get to the coast!

Looking good and secure....

Since there was extra room at the back of the trailer, it was determined to be the perfect place to put the centerboard, which will be installed while she is on the lift in the yard.
She needs to be lifted high enough and stable enough to safely get the centerboard under the keel, and up in the slot....

Awe...a job well done guys!

Stellar is ready....

Bye Bye, Beckon....

See you in Port Townsend!
No comments:
Post a Comment